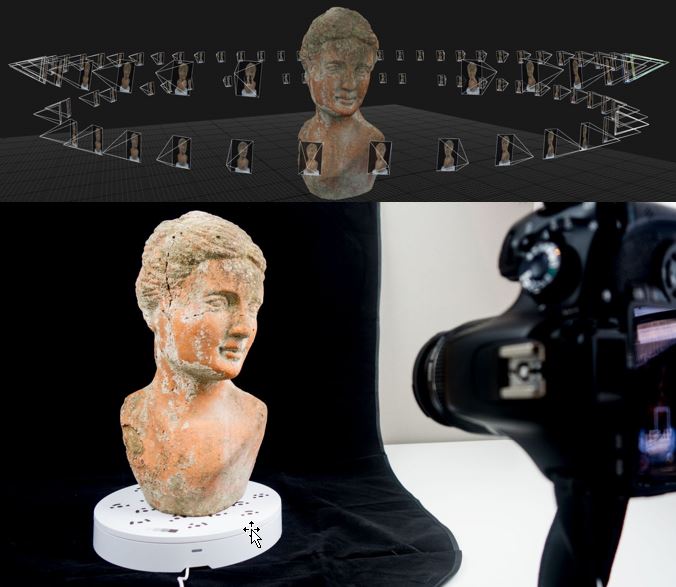
Photogrammetry is the art and science of using overlapping photographs to reconstruct three dimensional scenes or objects.
It is the practice of obtaining information about physical objects through the process of recording, measuring, and interpreting photographic images. It is most commonly associated with the production of topographic maps through aerial survey, although in recent years it has been increasingly used in such diverse applications as architecture, archaeology, engineering, geology, underwater, and forensic work amongst others.
Photogrammetry is now more accessible due to the ubiquity of powerful mobile devices with high quality cameras and general interest in digital photography.
It is possible to create successful 3D models from all sorts of cameras, from those housed in your smart phone to high-end digital single lens reflex (SLR) cameras, and everything in between.
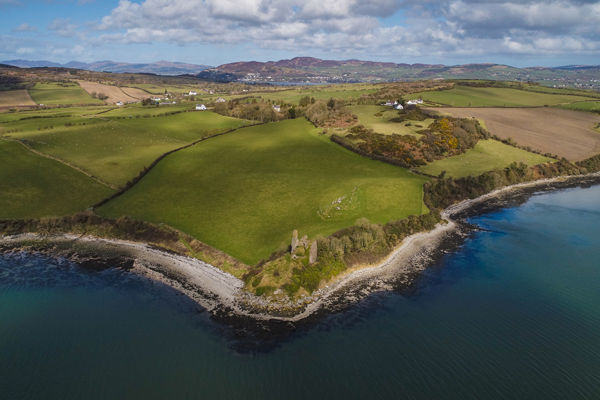
An example of aerial photogrammetry captured via a drone.
Photogrammetry can be used to capture large landscapes as well as small objects.
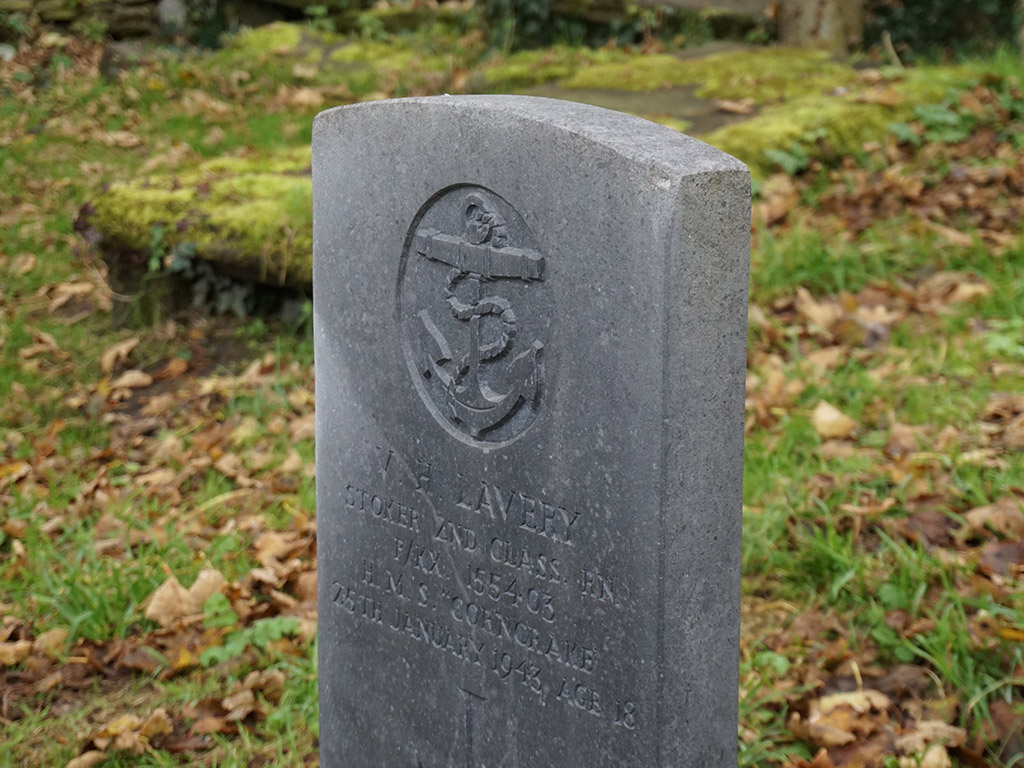
Start small with with a geometrically simple object or artefact. A good starting point is a rock or simple sculpture.
You should be able to walk around the object and capture images from all angles.
Photogrammetry works best on solid, matte surfaces. Shiny, reflective surfaces or glass can be difficult to represent in photogrammetry.
Capture your images by moving around the object and taking photographs. Take as many as possible while trying to ensure that each photograph overlaps. The basic concept is to have enough photos to show the object from all angles.
Plain lighting works best for indoors and overcast weather works best for outdoors. Any shadows on the object will carry over to the processed 3D object.
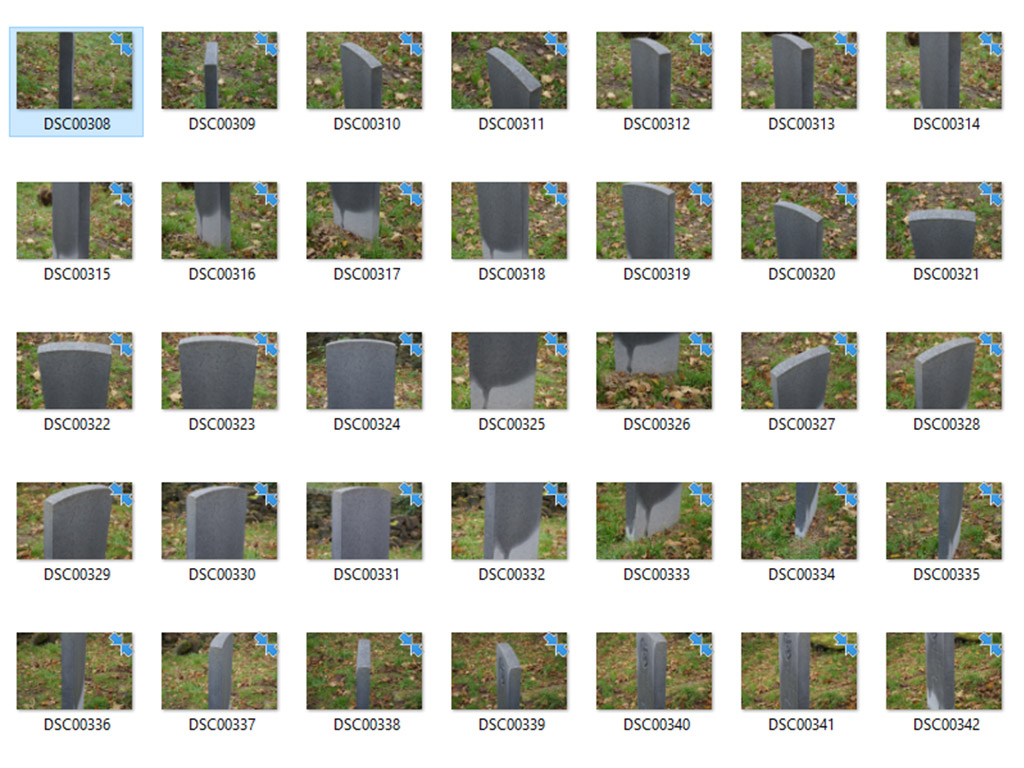
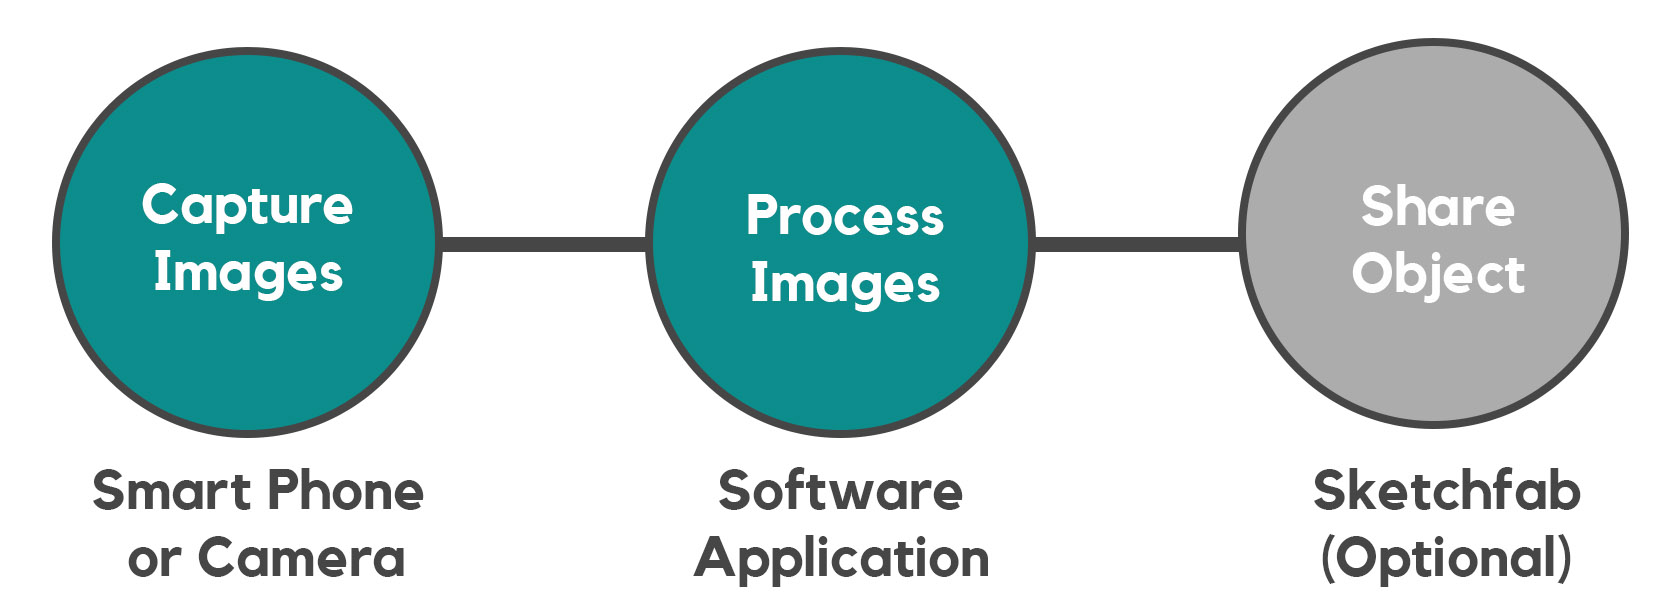
Once you have your images downloaded to a computer you are ready to process. This requires some software to create the 3D object. Generally, this requires adding the images and completing a few steps to create the final output. The software will complete the processing automatically.
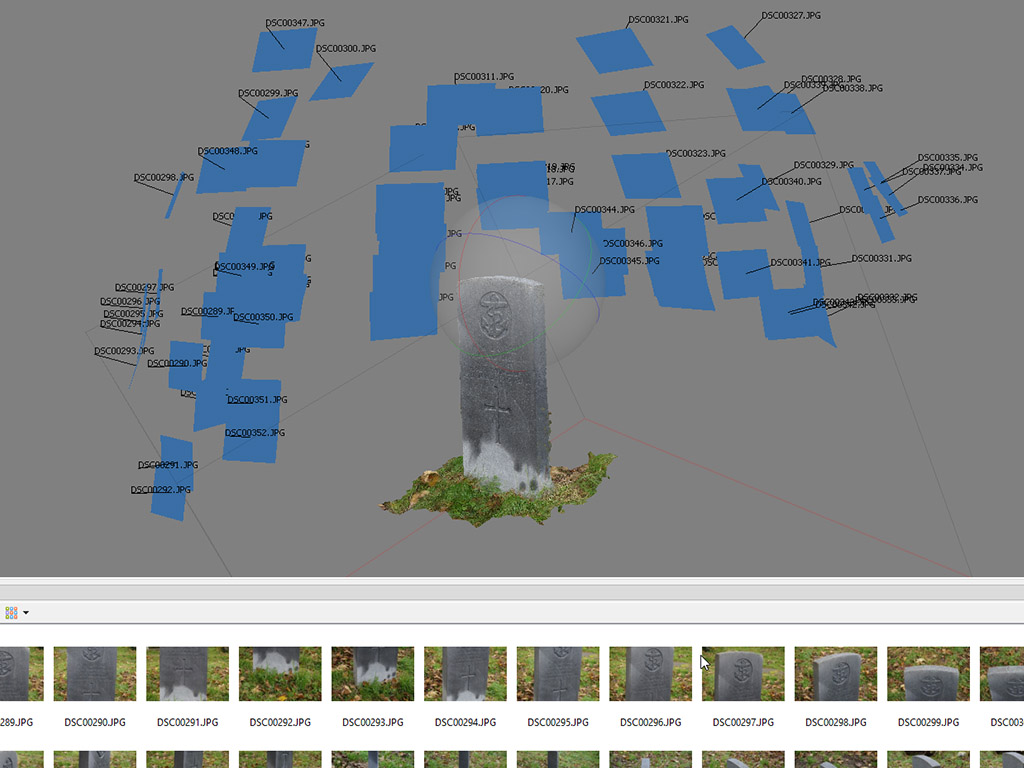
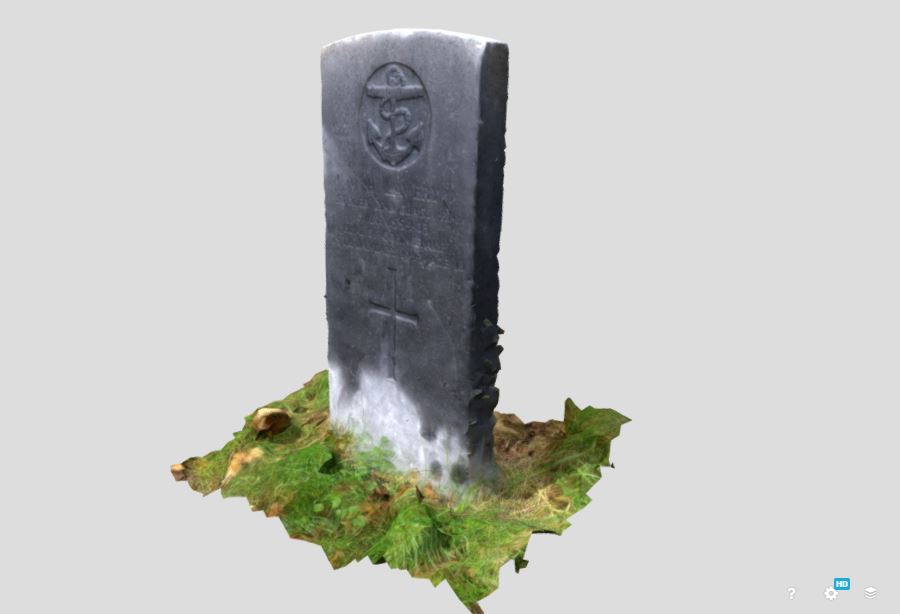
Once the object has been process you will have a fully 3D object. You will be able to move and orbit around the object in the computer to see it from all sides and angles. This is our 3D representation of the object or artefact.
3D objects can be uploaded and hosted on the web in the same way as photos. The most popular platform for this is Sketchfab. You can host and share your creations for free via Sketchfab.
To process photogrammetry you will need to use a software application.
Meshroom is free to download and use.
With any software there is some required learning and experience to be gained to use effectively.
A good starting point is to check the software website documentation and follow a free online tutorial.